How to Complete Identity Verification
How to complete Identity Verification on the PlasBit website? A step-by-step guide
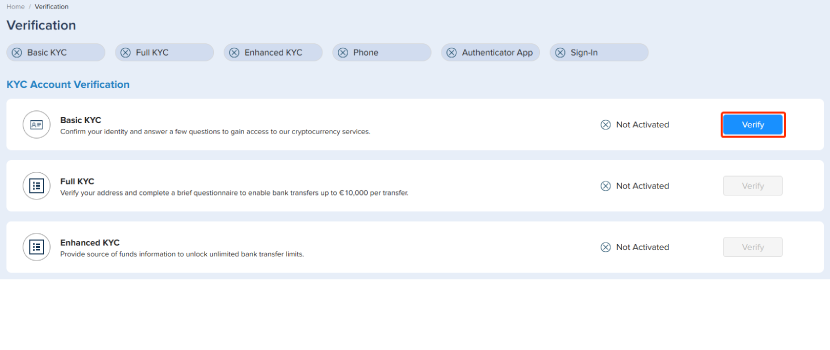
1. Log into your PlasBit account and click [Verification].

2. Under the title [KYC Account Verification] click on [Verify] in Basic KYC.
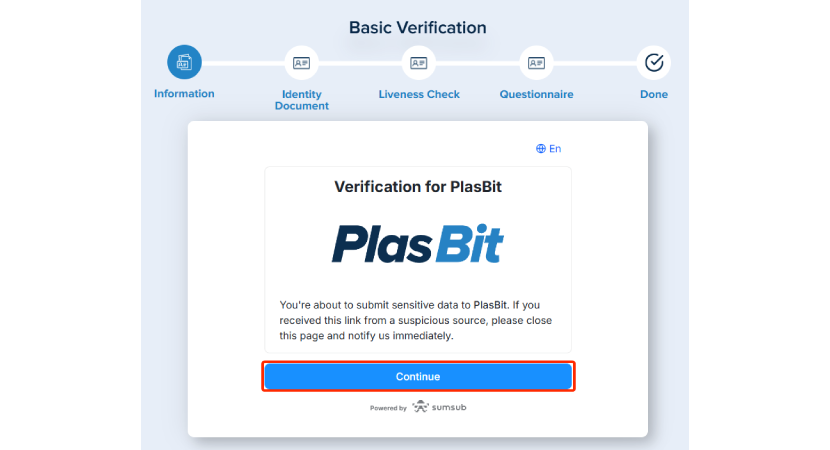
3. Click [Continue] on the pop-up window.
Ensure that the information you provided corresponds exactly to the first and last names stated on the document.
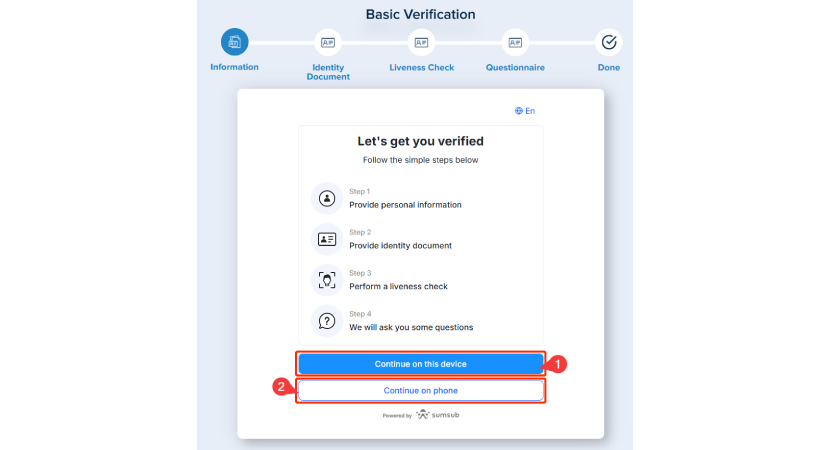
4. You will have two options to start the verification if you're using a PC:
1. Use the device you're currently logged in to.
2. Continue the process on your phone.
Select the option that works best for you, and click [Continue].
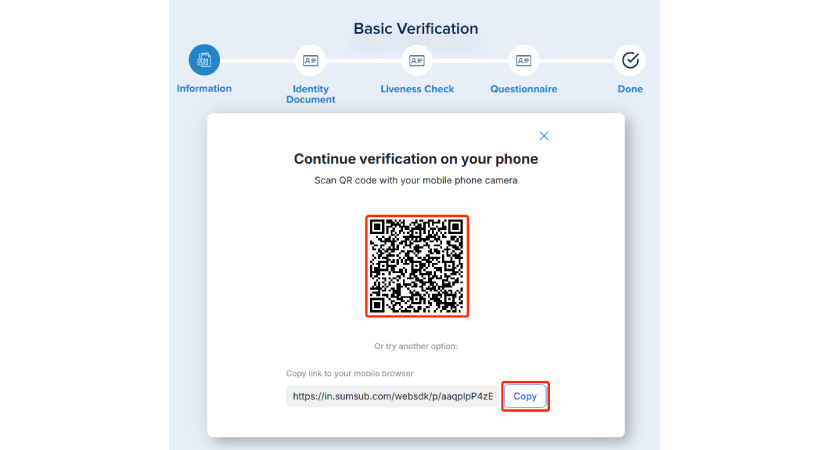
5. We’re continuing the guide as if we clicked ‘Continue’ on the phone. (Ensure that after clicking the link on your phone, you keep the corresponding window open on your computer until the process is completed).
You’ll now see two options:
1. Scan the QR code.
2. Copy the URL and open it on your phone.
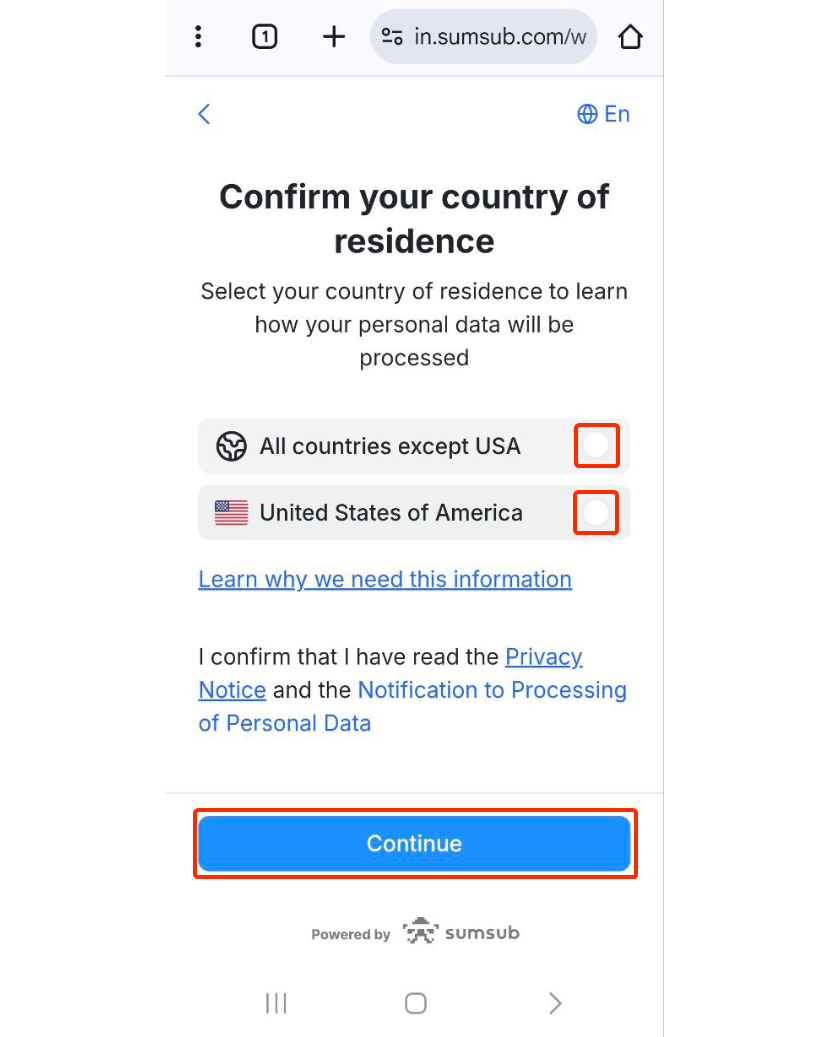
6. Next, you’ll start the process by confirming your country of residence.
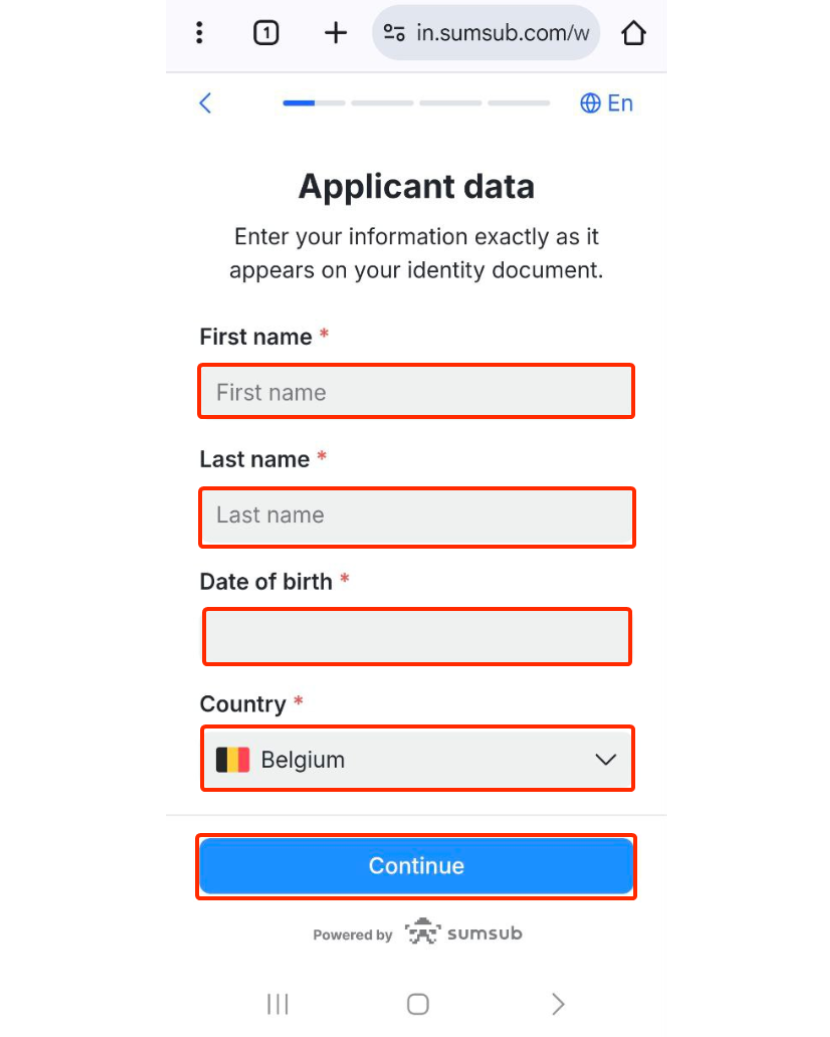
7. Enter your First and Last name exactly as it is spelled on your documents.
Then, fill your Date of birth and select your country of residence.
Ensure this is the country you resin in, not the country that issued your document.
Click [Continue].
*Please ensure that your country of residence and all the information entered is consistent with your ID documents.
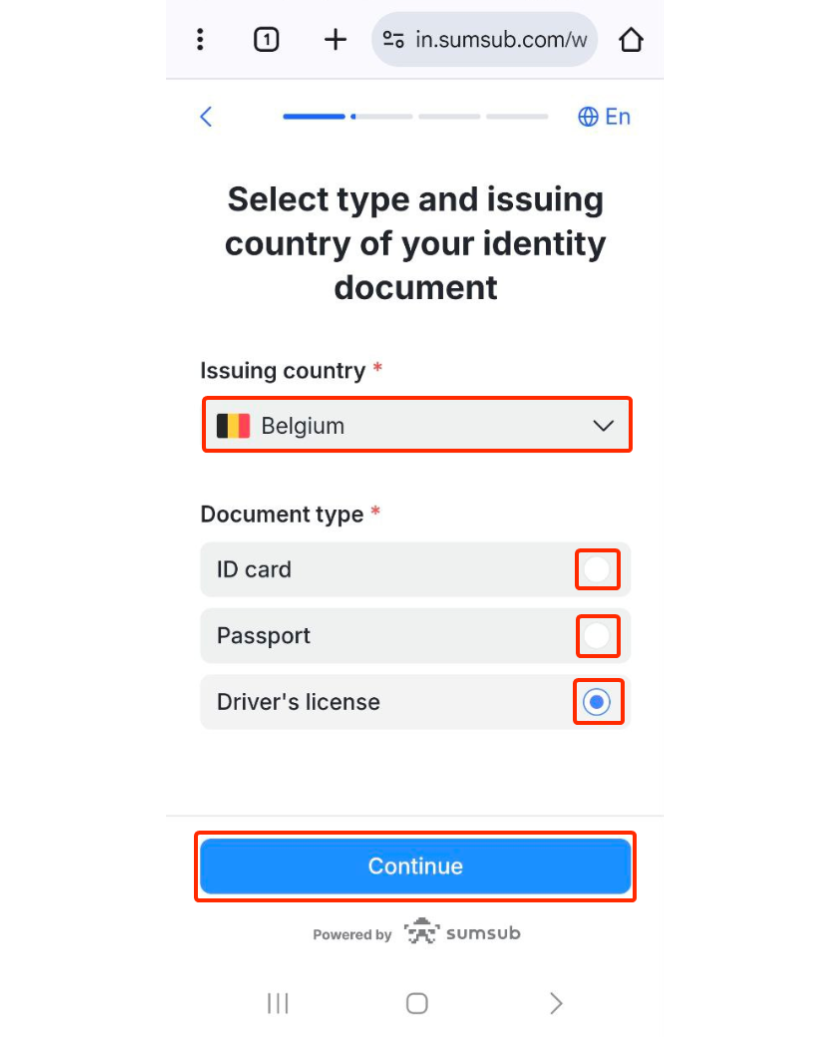
8. Next, please select the country of issuance for your documents.
Then, you will be presented with a list of documents accepted by your chosen country. Kindly choose the document that you possess and click [Continue].
7. Please follow the instructions for uploading images of your document and start by clicking [Continue].
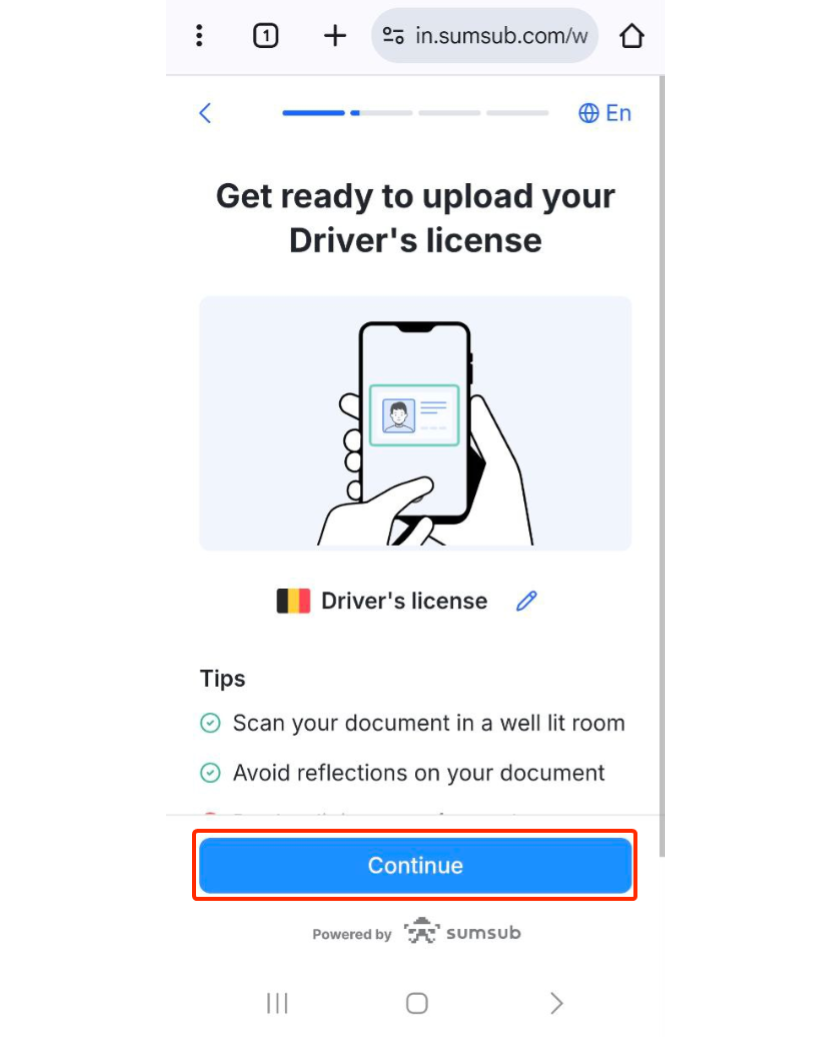
For specific documents, it is imperative to upload images of both the front and back sides.
Ensure that the Photos should clearly show the full ID document.
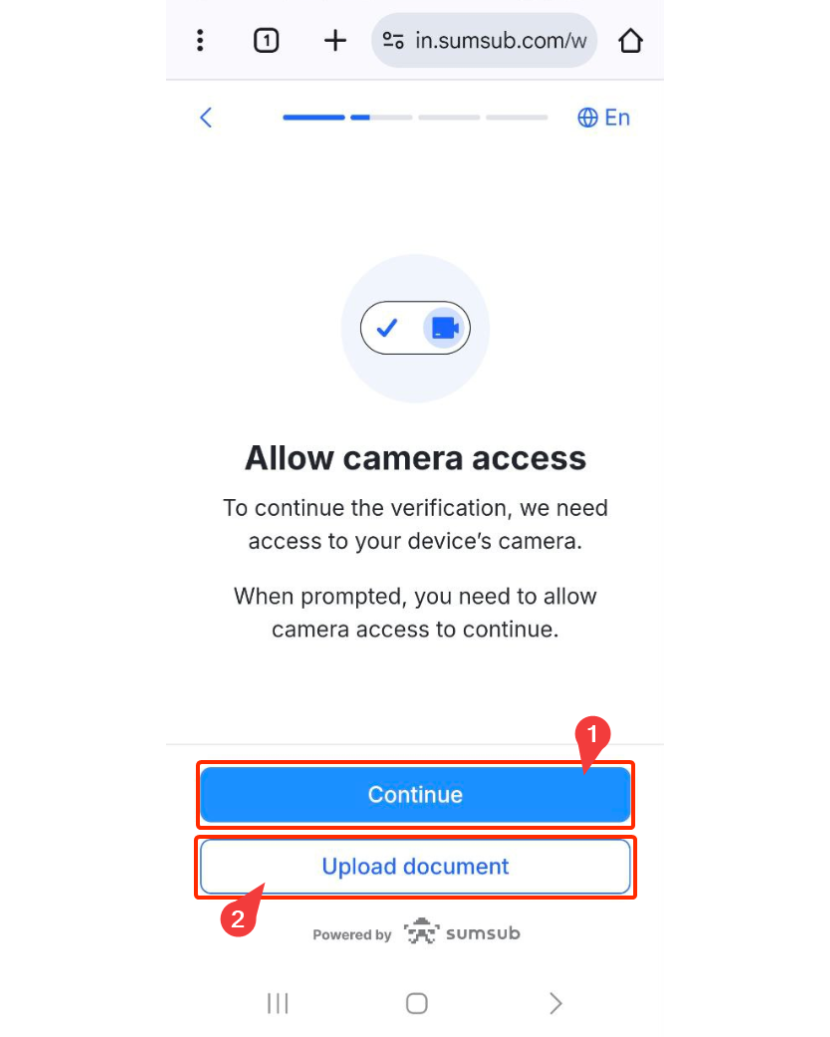
*There is also an option to upload documents directly from your device should you prefer to do so just click continue to allow camera access.
Each option will allow you to seamlessly open and engage with the necessary documents and selfie check on your mobile device.
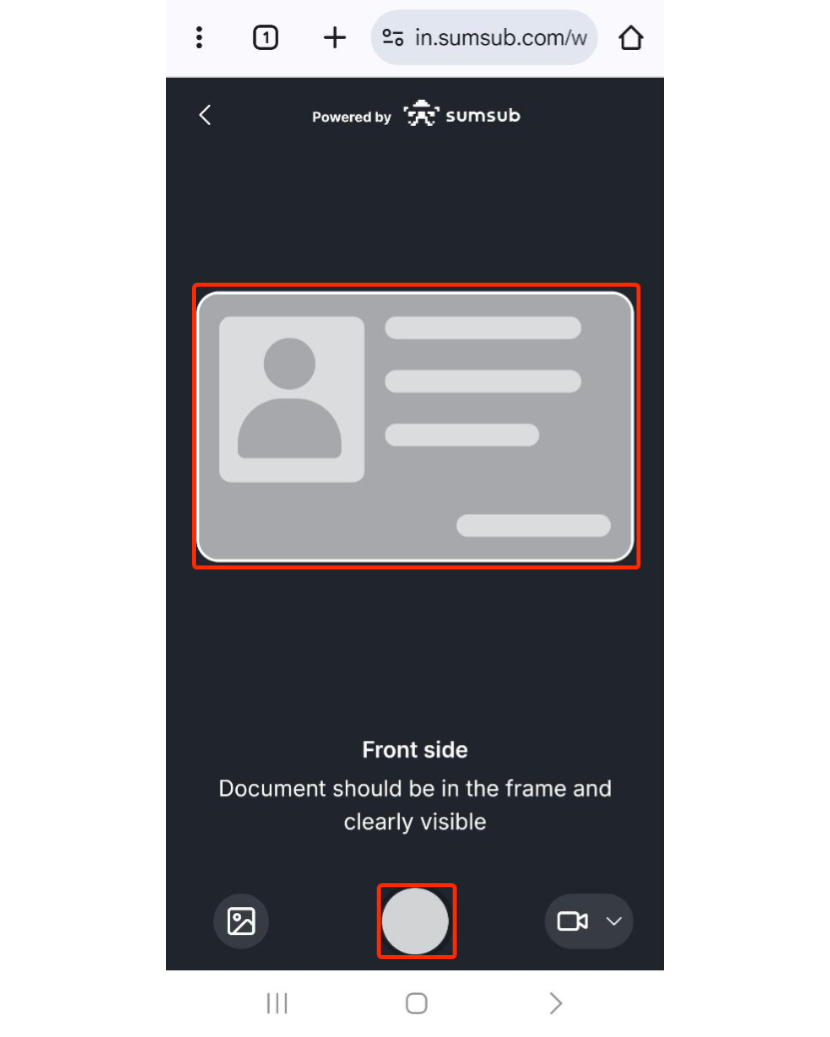
8. First, you’ll need to upload the front side of your ID.
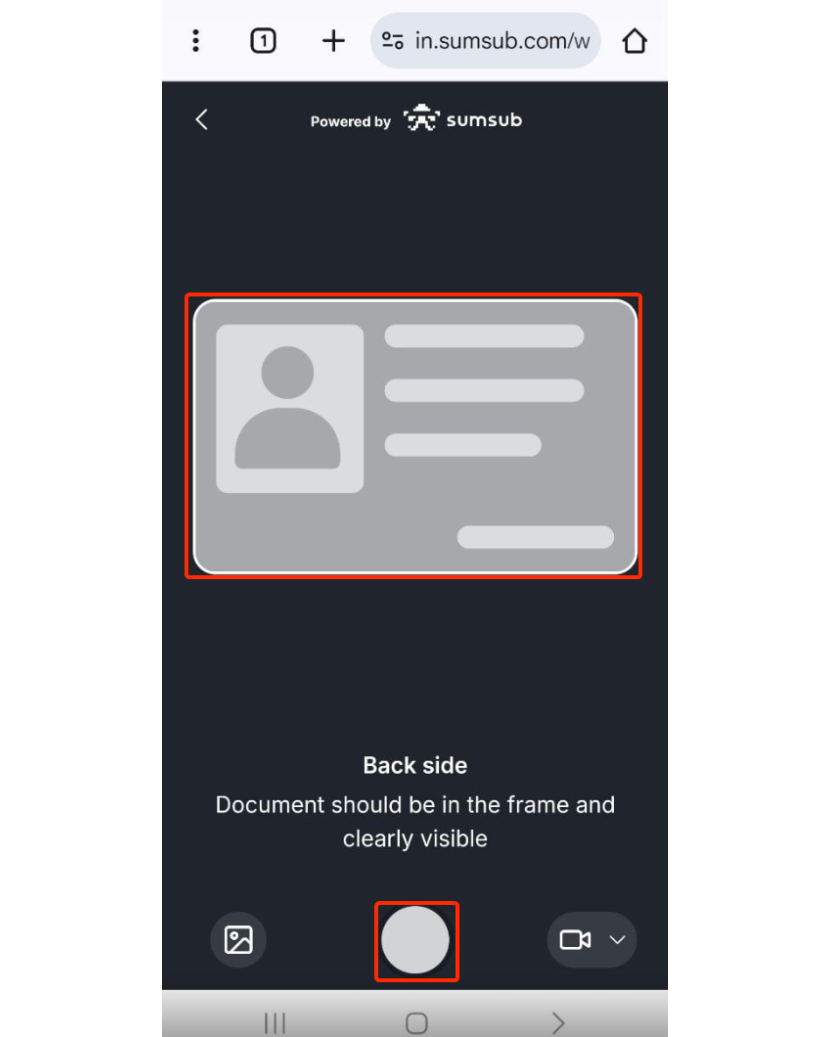
9. Then, you’ll need to upload the back side of your ID.
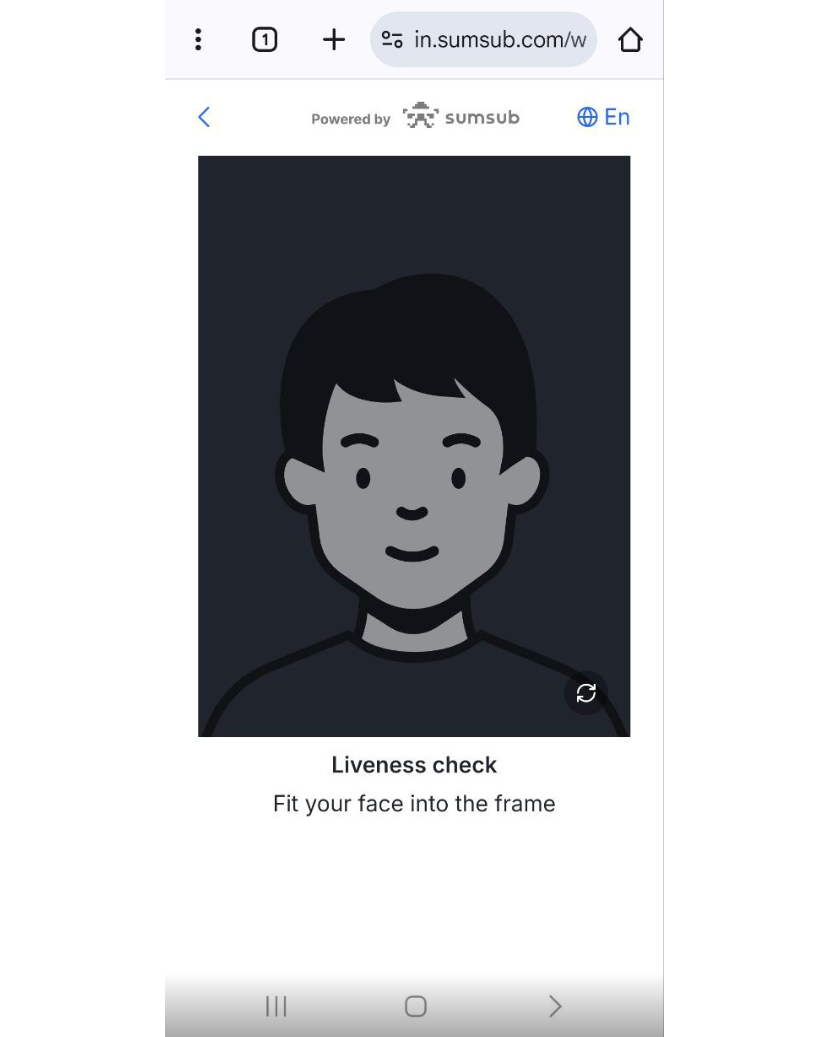
10. You’ll need to complete a liveness check, so click Continue to get your camera ready.
Note: Please enable camera access on your device.
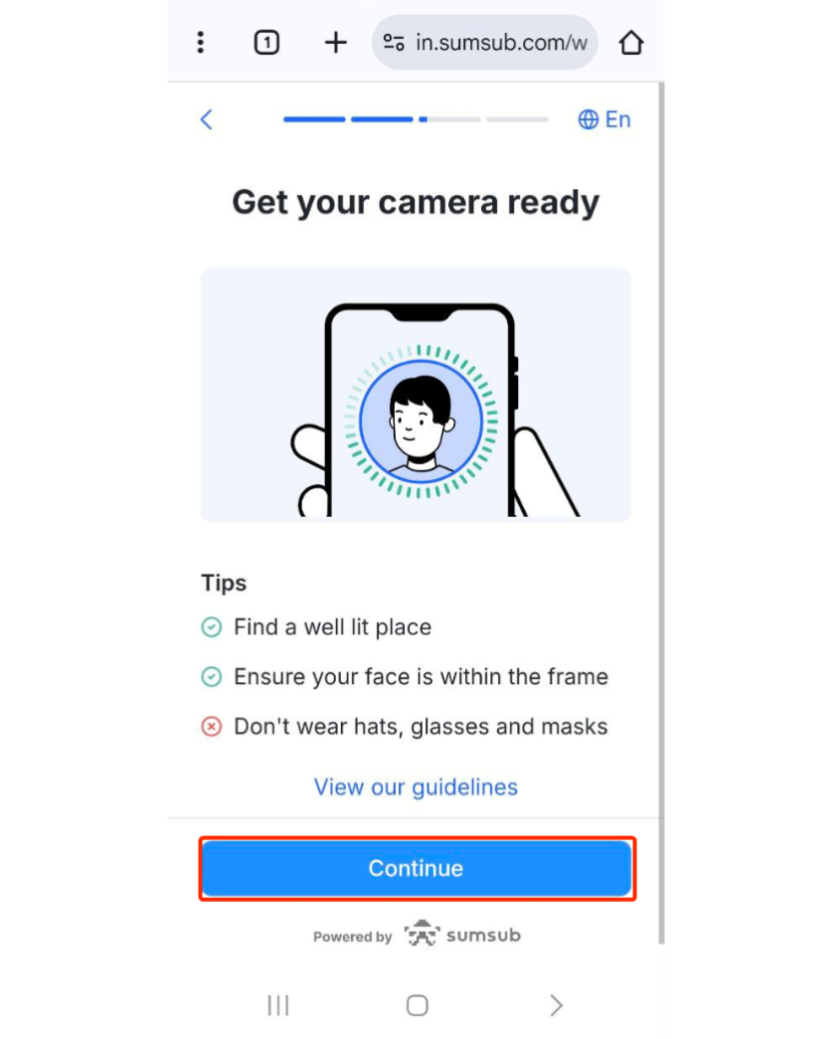
Follow the instructions to take a video of yourself.
Do not wear hats, glasses, or use filters, and make sure that the lighting is sufficient.
Follow the on-screen instructions to capture a video of yourself.
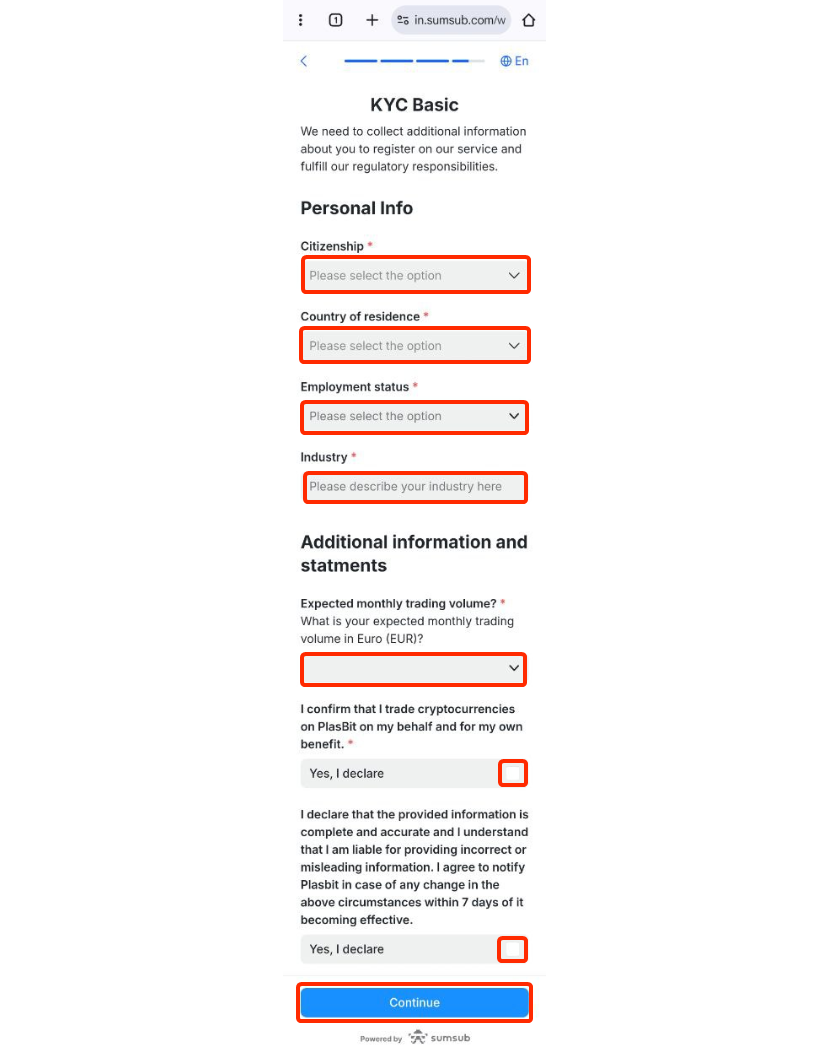
11. After that, you’ll need to fill in additional details about yourself and click [Continue].
12. When finished, PlasBit will review your submitted data, typically completing this process within 10 minutes.
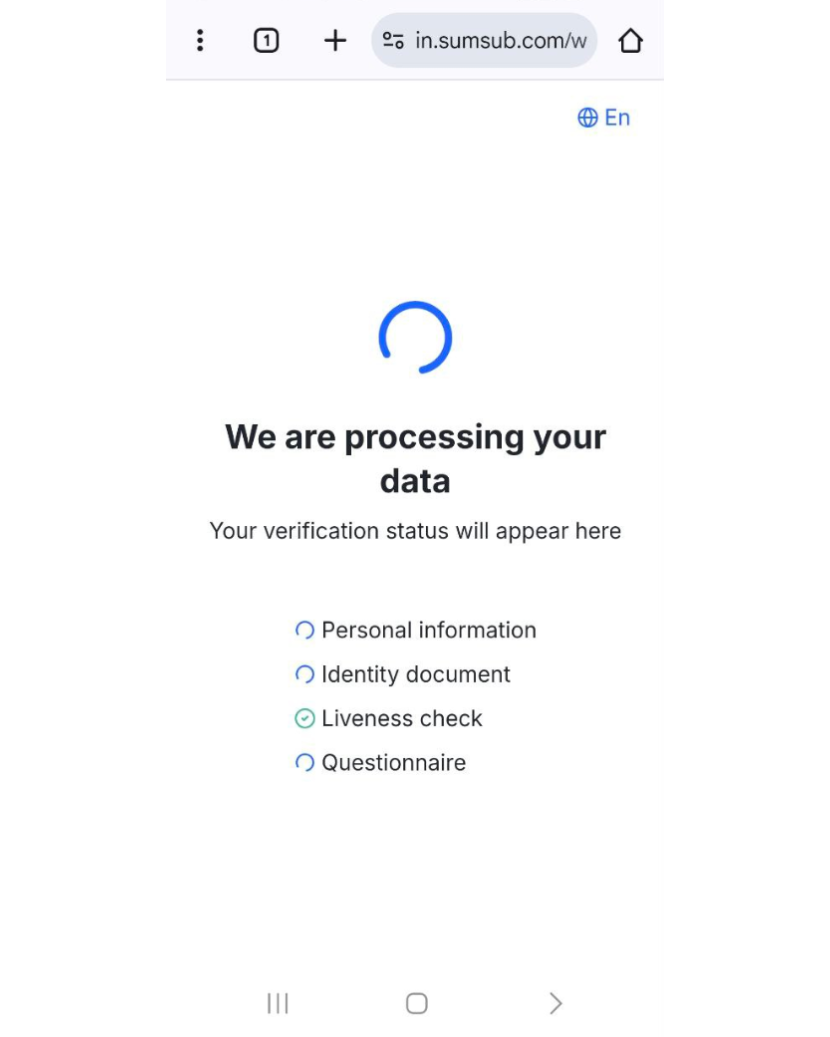
Upon verification of your application, a notification email will be promptly sent to you.
- You may attempt to complete the Identity Verification process up to 3 times per day. If your application has been denied 3 times within 24 hours, please wait 24 hours to try again or contact support.
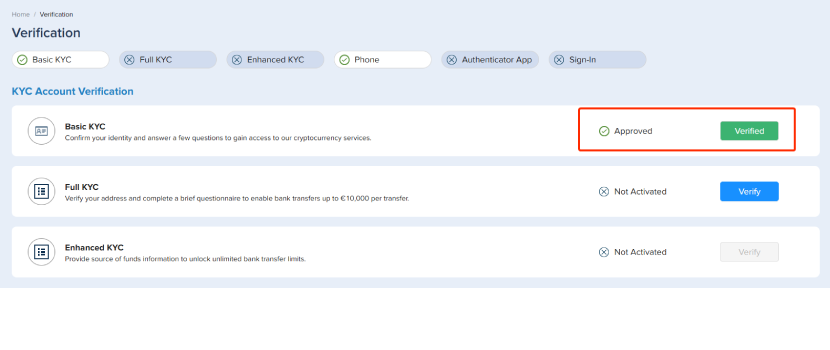
13. As soon as your verification is approved, the status will update to ‘Verified’ on your dashboard under ‘Verification,’ and you’ll receive a confirmation email as well.
