How to Enable Google Authentication (2FA) on PlasBit
1. Log into your PlasBit account and click [Verification].

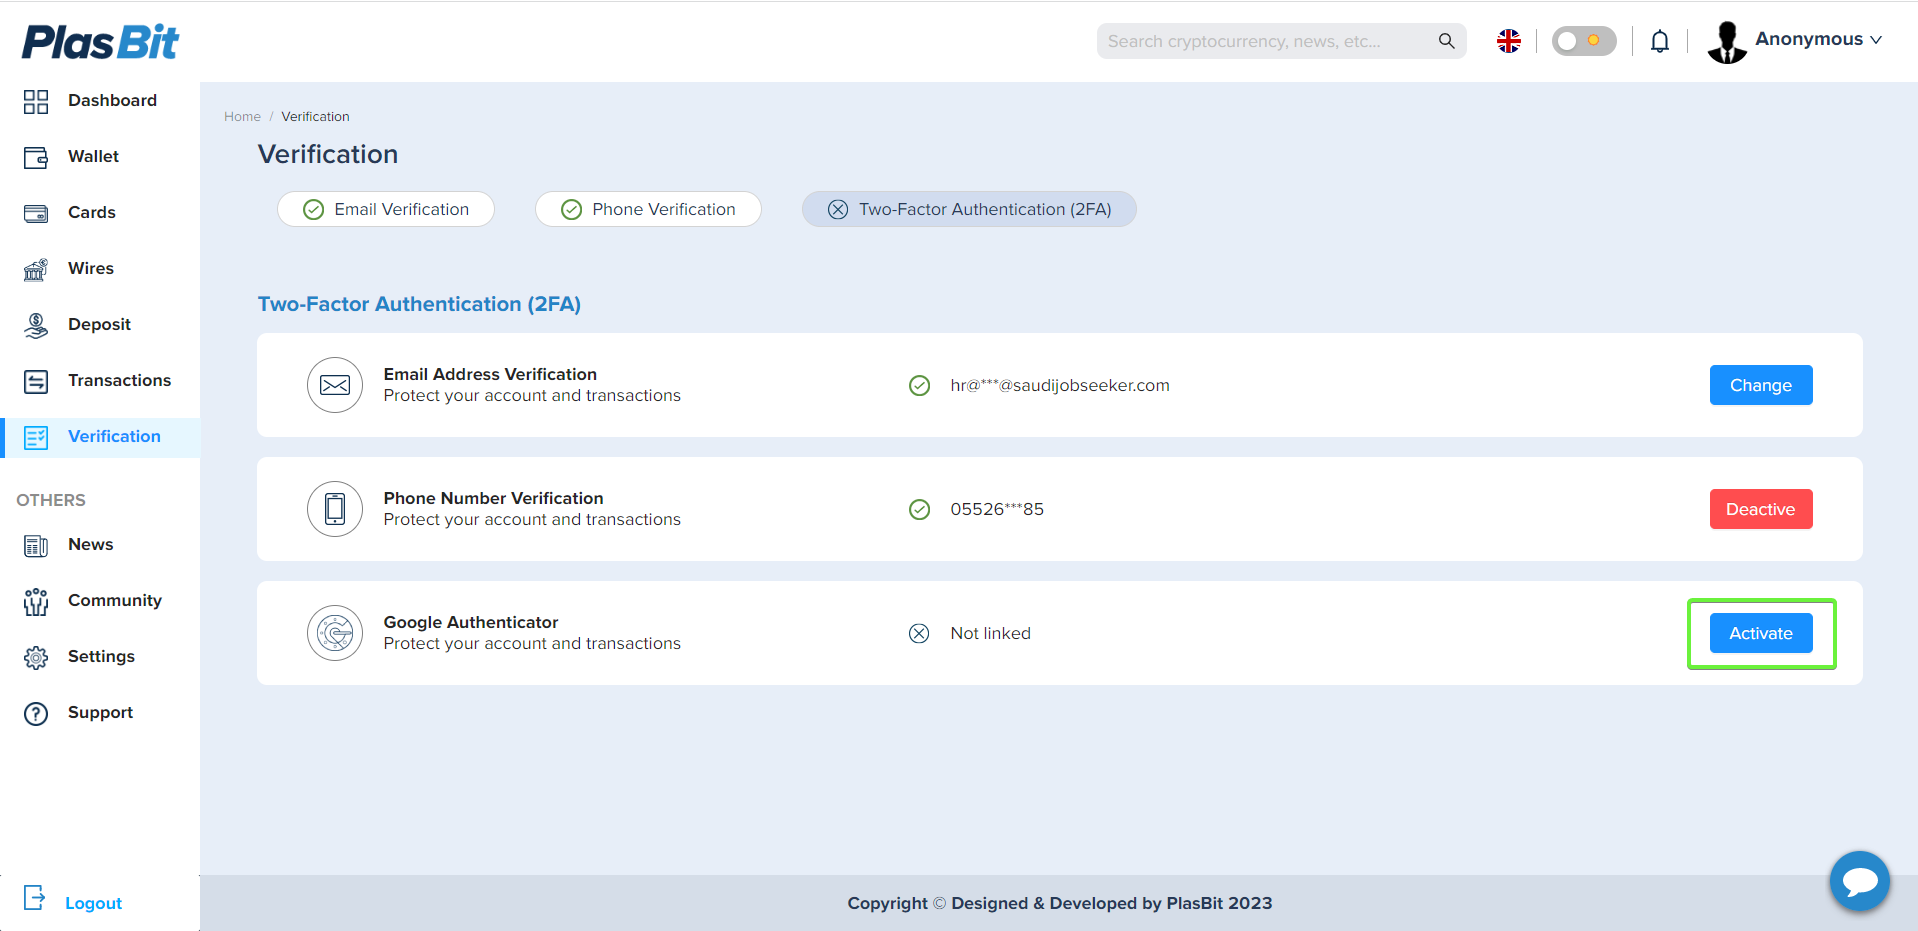
2. Click [Activate] next to [Google Authenticator].
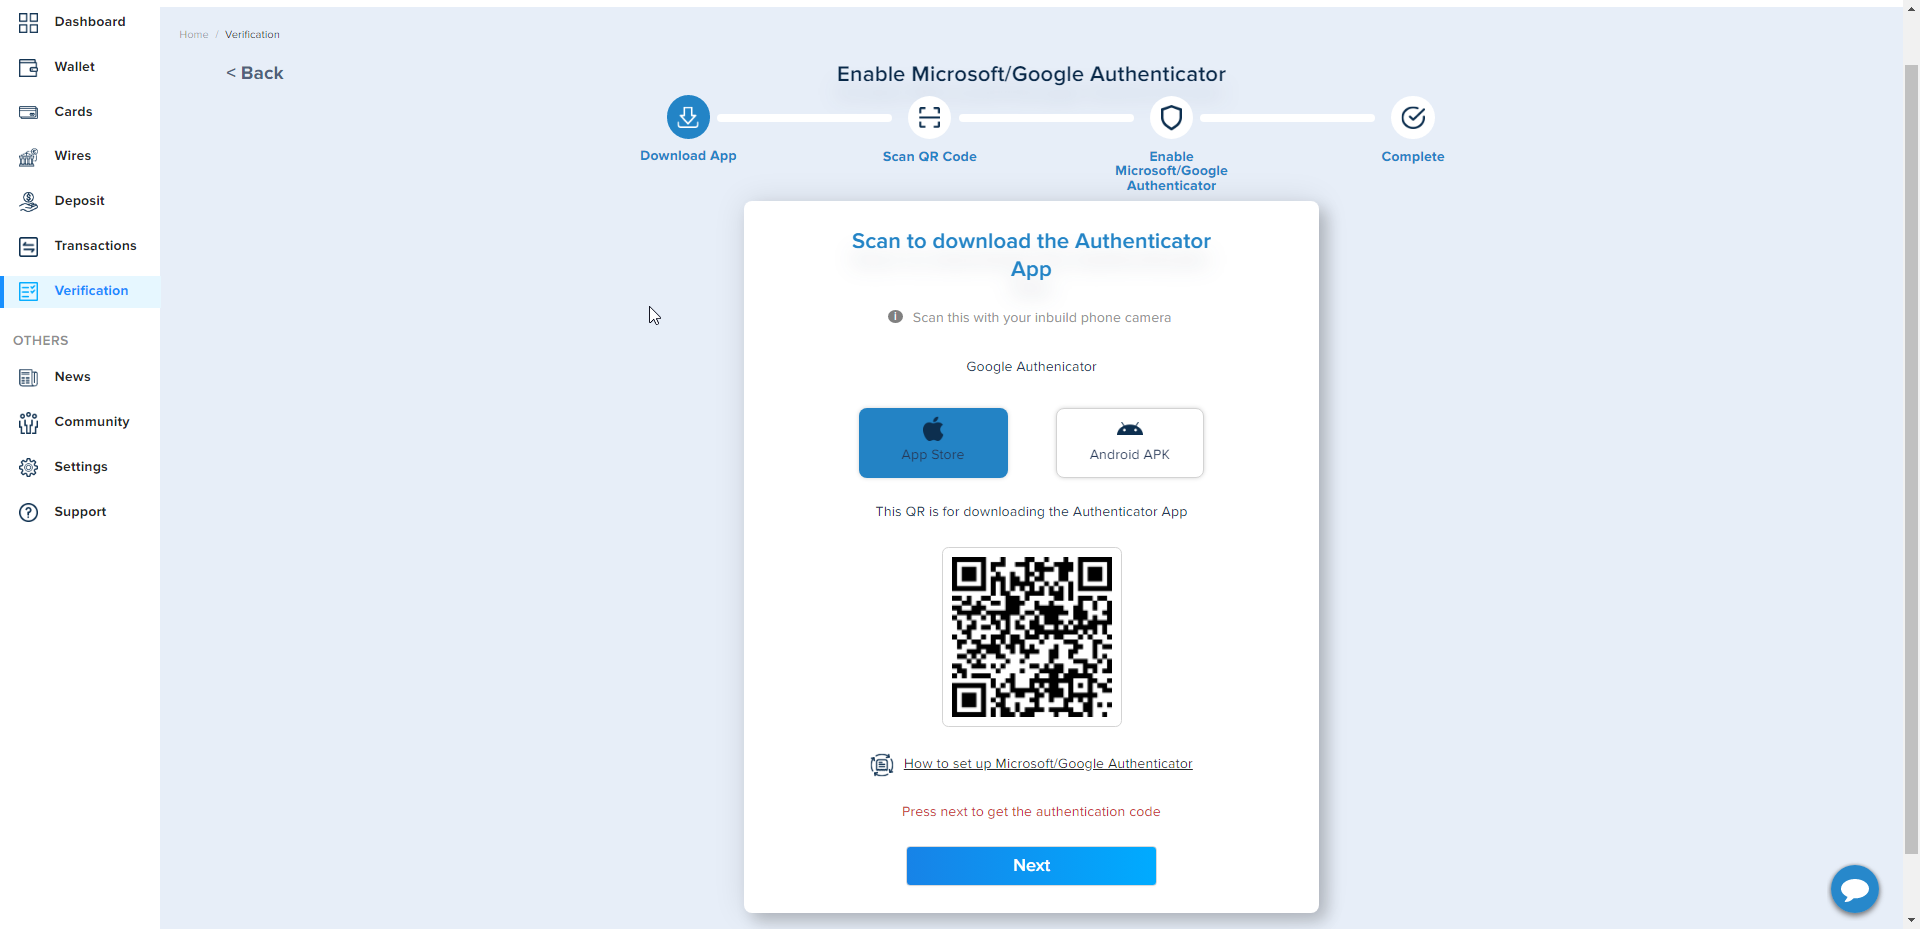
3. You will be redirected to another page. Follow the step-by-step instructions to download Google Authenticator and click [Next].
(In this phase, you are only downloading the app; you are not using the QR code to add Plasbit Authenticator.)
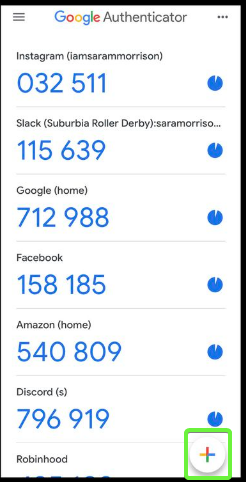
4. Open the Google Authenticator App and tap on the [+] button on the bottom right of your screen to scan the QR code. Then click [Next].
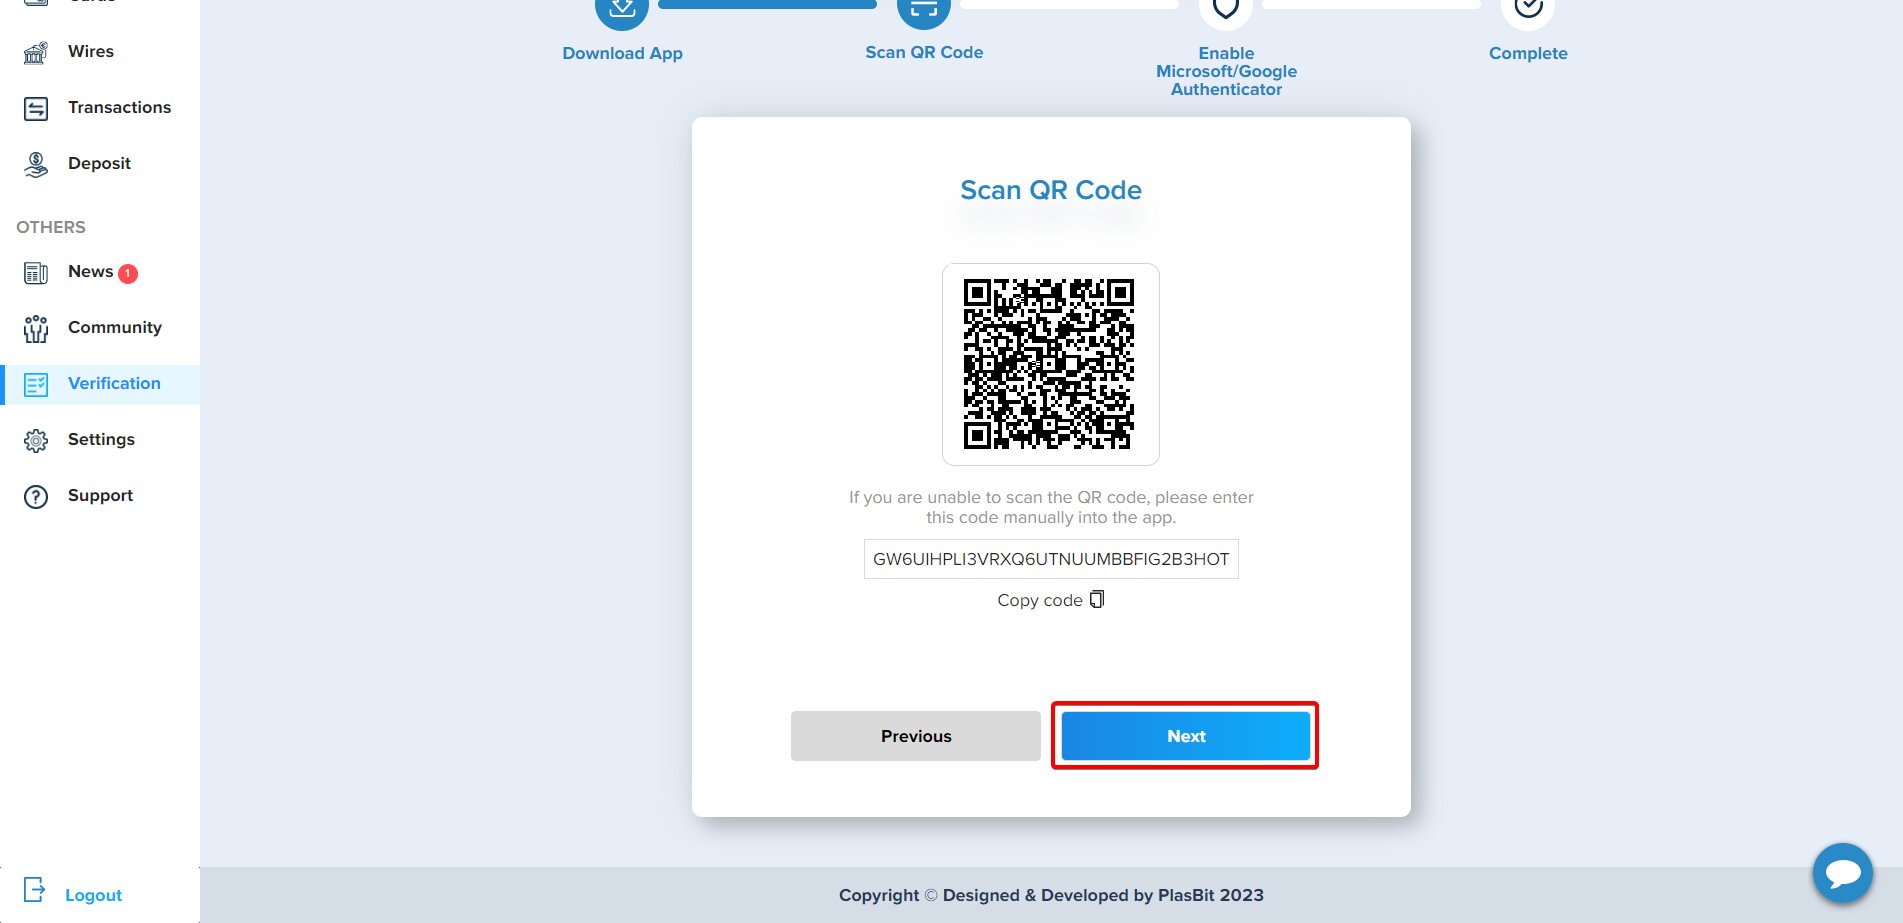
If you are unable to scan it, you can manually enter the setup key located below the QR scan in PlasBit page.
4.1. Save the backup key on paper. This key will allow you to recover your Google Authenticator in case you lose your phone.
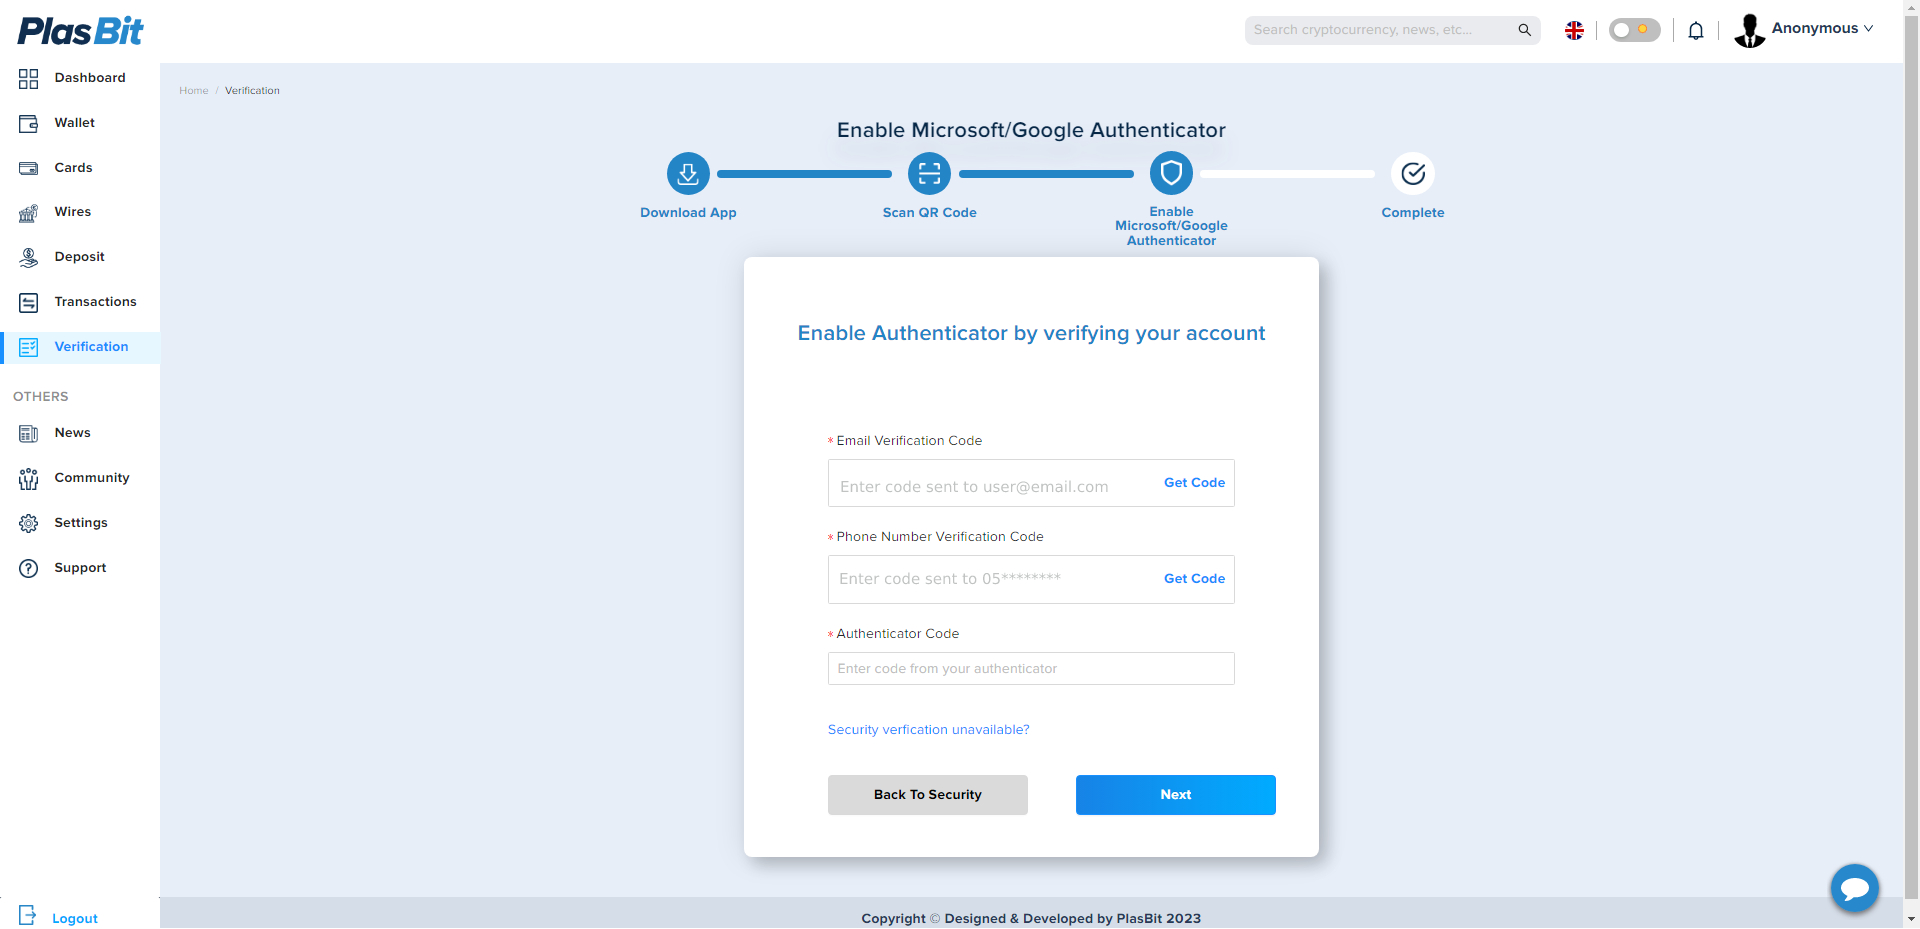
5. Verify your Google Authenticator with your other 2FA devices (Email and phone messages) and click [Next].
6. You have successfully enabled Google Authenticator to protect your account.


